A simple illustrated step-by-step for assembling a mount to show off your coins. WARNING: Do not do this if you are a serious collector; I have no idea if my methods would lead to accelerated tarnishing of silver or other unforeseen damage. I did it because it looked cool, after all.
TIME: 10 minutes
MATERIALS:
1 piece of plywood
1 piece of backcloth
TOOLS:
Hammer for pesky staples
Staple Gun
Hole-saw
Table Saw
2. Use a drill or hole-saw to cut a hole in a piece of plywood to fit the size of your coin. It's okay if the hole is a little large, you will be able to pad it later.
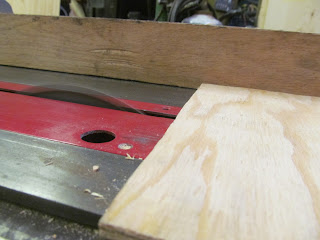
3. Cut the plywood into the shape you want. I chose a 3 1/4" square
4. You are now going to apply the back-cloth. Cut out a piece of the desired background cloth in a shape like your plywood. Leave an inch or two on each edge of the cloth to be sure you have enough.
5.Use a staple gun to staple one edge. Next do the opposite edge, pulling the cloth tightly. It is preferable to have the cloth very taught, especially if you are using a stretchable material like I was.
Then staple the other sides so that the cloth is a flat surface as shown:
Now there are two options: Take a ziplock bag and cut a large piece from it, 5x larger than your coin. Wrap up the plastic as if you were sealing a loaf of bread, and then tape it down. The display side of the coin should be plainly visible. It should be difficult to discern plastic wrap... press in to fit.
Note: Frame is optional. See next post for a how-to on the frame.


No comments:
Post a Comment